How to Make a Pressed Flower Bookmark
If you’re thinking of an easy-to-do art project with Pressed Flowers, then making some Pressed Flower Bookmarks might just be the perfect idea for you!
Fun, Adorable and certainly easy-to-do (You can even do this with your kids!), Bookmarks come in handy, especially in making or saving the page that you’re currently reading on in your favorite book or novel - and even to your study notes for an upcoming exam!
What’s also great about making Bookmarks is that all the materials that you would possibly need to make some are readily available at any local educational supply or art-and-crafts store. Add in the delicate shapes and colors of beautifully pressed flowers and you’ll have the perfect-giveaway to your fellow book-loving friends!
So, fire up your imagination and let’s get craftin’
Materials
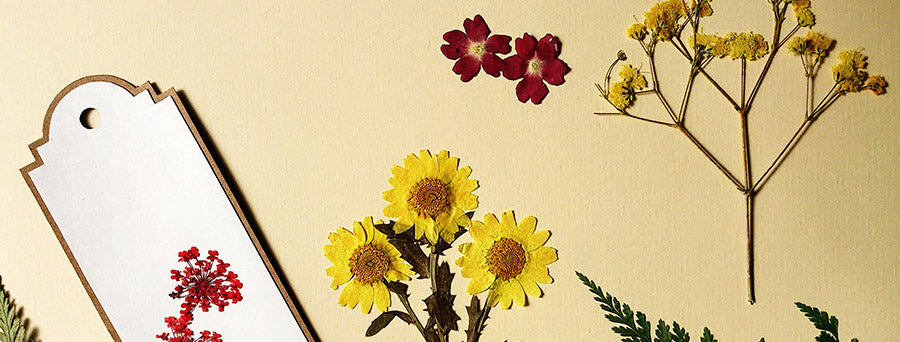
- Pressed Flowers (You can make some yourself by following this tutorial (How to Press Flowers))
- Glue
- Paper (Preferably stiff, ex: Card Stock)
- Scissors
- Tweezers
- Toothpick(s)
- A small dish or bowl
[Optional]
- Hole Puncher
- Ribbons
Steps
-
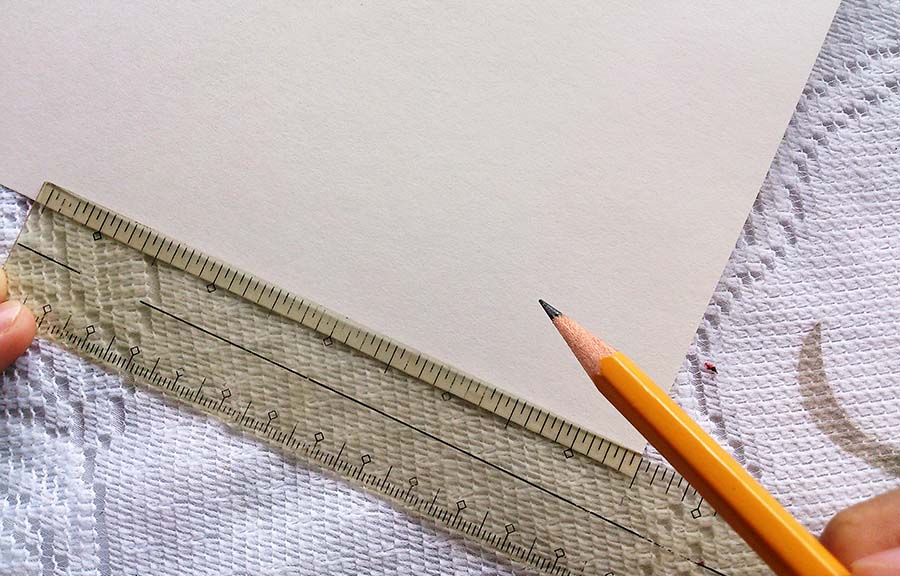
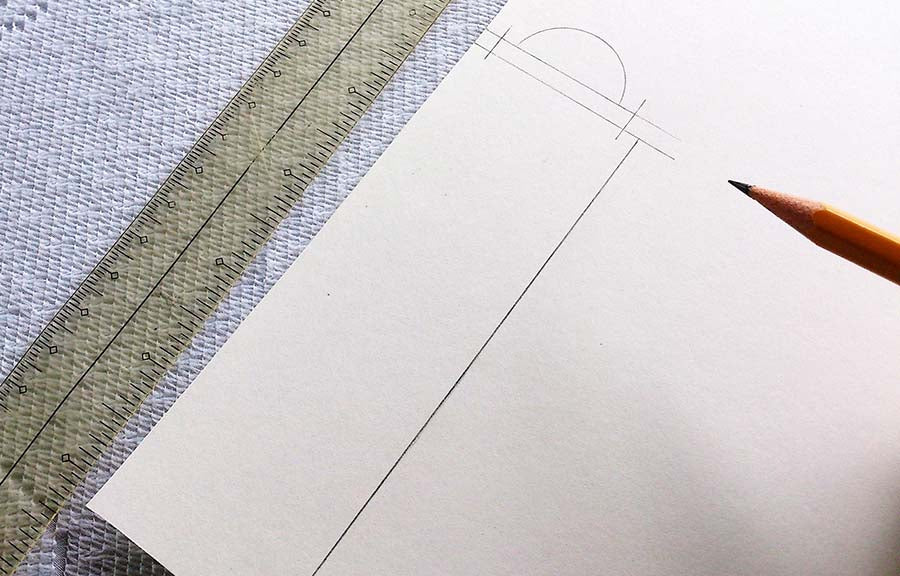
Cut your paper.It’s completely up to you how big you want your bookmark would be. Just don’t get it too long and not too wide that it would stick or jut out the edge of the book that you will bookmark. As for the size of our bookmark, its 6 X 1.75 inches wide. For aesthetic purposes, you can cut in some creative grooves on the other side of your bookmark. You can also make your bookmark thicker. It’s all up to you!


-
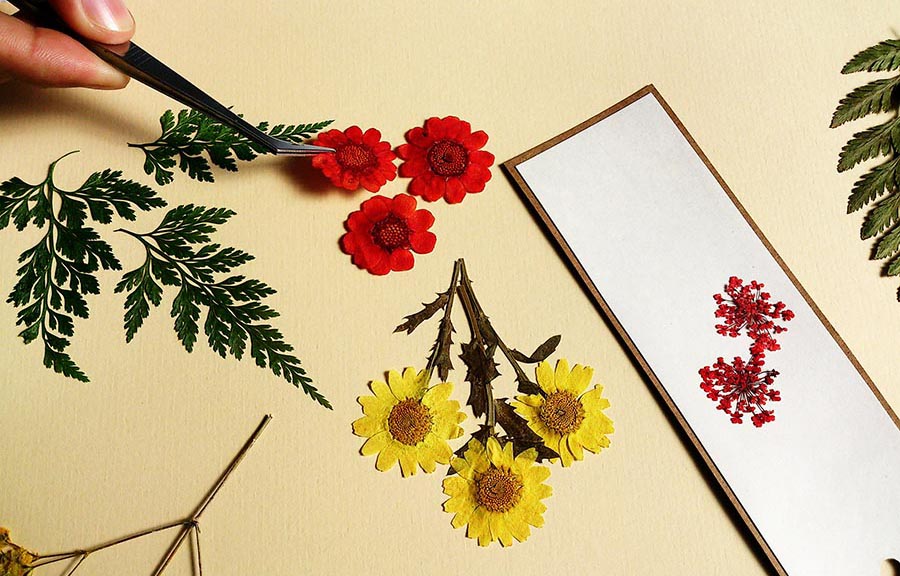
Design it as you like. Now that you have your paper set, think first of a suitable design or pattern for the pressed flowers that you would use on your bookmark. You wouldn’t want to glue your pressed flowers right away to your paper as they are quite delicate and once they’re glued, you wouldn’t be able to change them. On your paper, using a pair of tweezers, gently arrange your pressed flowers to whatever design or arrangement that you’d like. Again, this is all up to you!
-
Glue your design to your paper. Once you’re happy with your design, you can now start gluing it to your paper’s surface. So that you wouldn’t open your bottle of Elmer’s glue every now and then for while you’re gluing, for your convenience, get yourself a small dish or bowl and pour in just a small amount of glue.
 Then by using a toothpick, dip one end of it in glue and pick just a little amount of it from the bowl.
 Carefully pick and hold your pressed flowers from your design with your tweezers then slowly apply glue on its back side.
 For thicker flowers, add a little bit generously underneath to make them stick to your paper stronger.

-
Let it get dry. Once you’re done gluing all the pressed flowers in your design, avoid moving any of the flowers that had already been glued and let it sit and dry for a couple of minutes or up to an hour or so.

-
Add in ribbons and charms. Once your bookmark is completely dry, tie in some colorful ribbons or charms at its upper end for a striking finish.

- You're Done! Make a few more and give them away as gifts, specially to your fellow book loving friends. They'd surely love it!


Infographic

Don't Have Time To Press Your Own Flowers?
We have over 200 varieties of pressed flowers ready to ship.